1. Choosing a pumpkin – Pick one with a smooth, flat, ridge free surface. Look the pumpkin over carefully for any bruises, discoloration or soft spots. Pick one that has a good color for the work of art you want to create. Make sure the pumpkin can stand on its own without falling.

2. Preparing the pumpkin – Fresh pumpkins should be thoroughly washed and dried before painting or putting on a pattern. Most often, a pumpkin will be painted with a design and the unpainted surface of the pumpkin will serve as a background. If you choose to paint a background, use spray paint for an even coat. Spray the front of the pumpkin in a well-ventilated area and allow to dry.

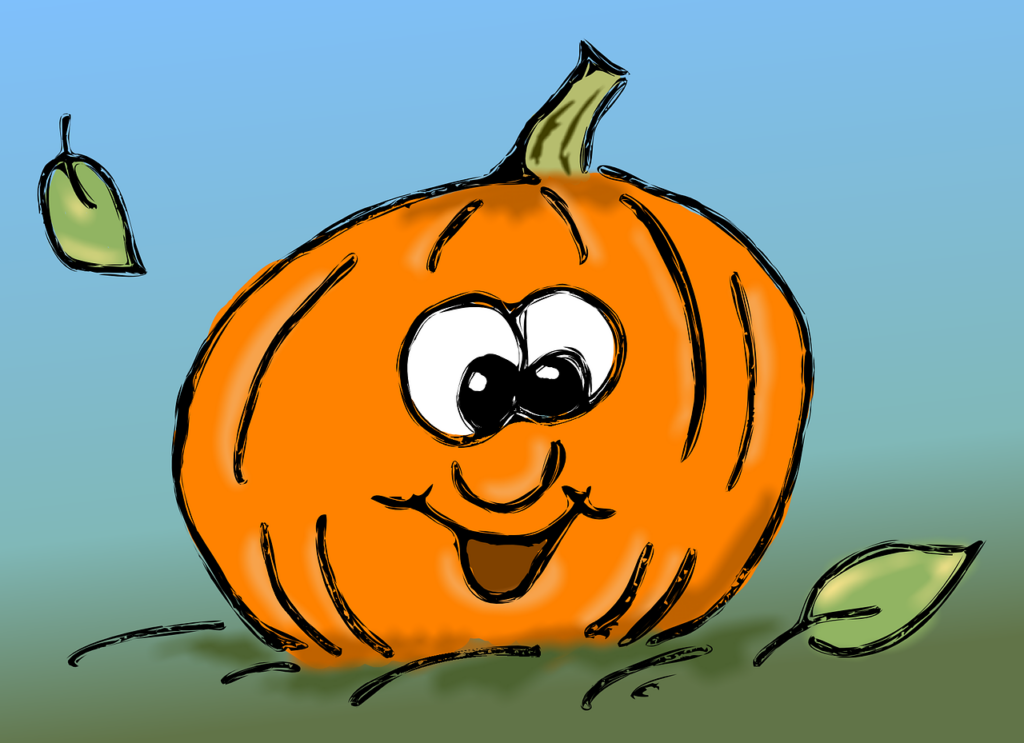
3.Choosing a pattern – Take your inspiration from story books, TV shows, emblems, logos, coloring books, CD covers, magazines or anything else you like. The list is endless. Once you find a picture you want for your pumpkin, you can either paint freehand or transfer the image onto your pumpkin with a stencil.
4. Fitting the pattern – A photo copy, enlarged or reduced, is the easiest way to assure the design will fit the size of your pumpkin. Make the pattern fit snugly on the pumpkin by making cuts from the corners of the pattern toward the center and tape it into position.
Your pattern can be traced onto tracing paper and then transferred onto the pumpkin using graphite paper. Place the graphite paper between the pattern and the pumpkin with the graphite side facing the pumpkin. Tape the graphite paper and the pattern into position on the pumpkin.
Carefully and firmly trace the pattern with a pencil, or dull object. Lift the corner slightly to ensure the pattern is transferring nicely on to the pumpkin. Once the pattern is complete, remove the pattern and graphite paper.
5. Painting the image – Begin with a fine artist paint brush and black craft paint. Slowly outline the image. If you make a mistake, the paint can be wiped off with a damp paper towel or rag, and you can begin again. Once you are satisfied with your outline, allow the paint to dry completely before adding the colors.
Once the black outline and all the black areas are painted and dry, you can move on to the next color. Paint inside the black lines with a larger brush if necessary. Wait for each color to dry completely before adding the next. When finished, spray the image with a clear sealer in a well-ventilated area.
If you are painting a funny face, try different hair and hats on the pumpkin and secure them with straight pins once the paint is completely dry. Add a silk flower to the hat and secure it with glue. Another fun idea is to place the pumpkin head on clothing filled with leaves for a goofy pumpkin person. Whatever you choose, have fun and enjoy pumpkin painting!


Leave a Reply